Taxes
Your business’ financials are affected by regulatory taxes and each organization has different country specific taxes to adhere to. You may have added Taxes in the Quick Setup section. You can edit or add further Taxes through the Settings section.
Enabling Tax for your organization
Before adding taxes, you’ll have to enable them for your organization. To do that, follow the instructions below:
- Click on the Gear icon present on the top-right corner of the page and select Taxes.
- Click on the Enable Tax button to enable tax for your organization.
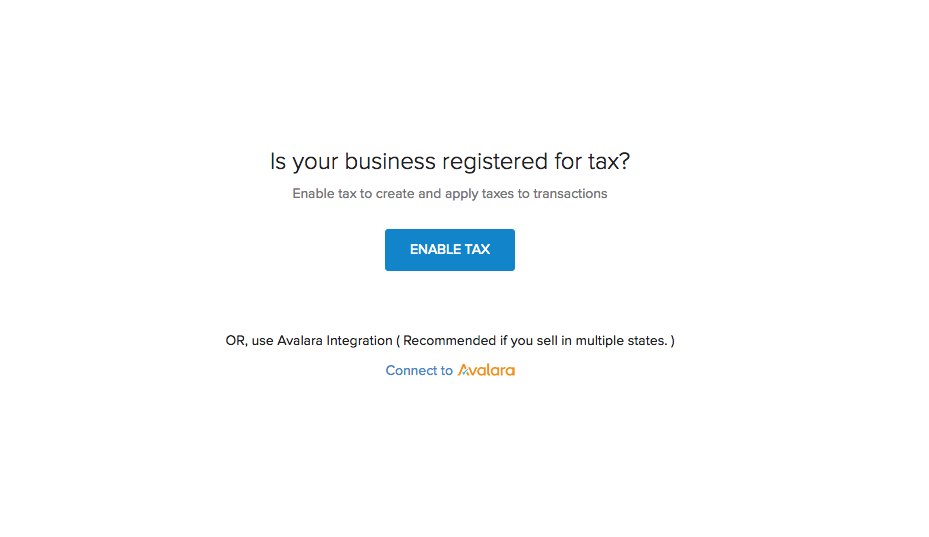
You can also enable Tax for your organization as early as while creating it. In the organization creation page, just check the box that says Is your business registered for tax?
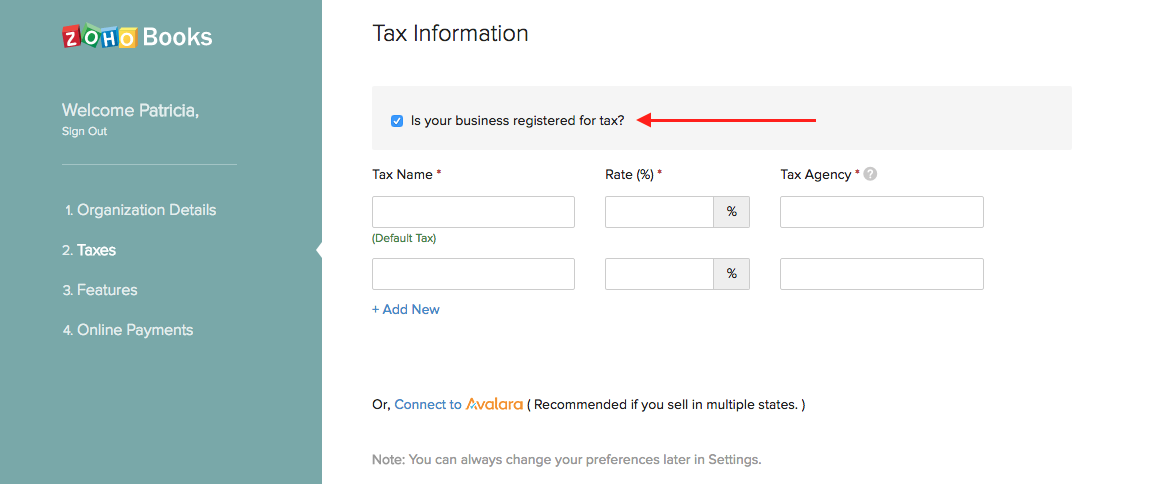
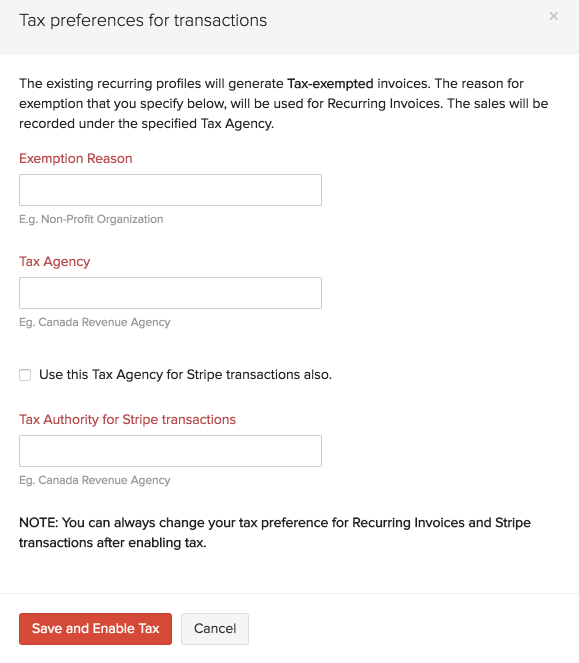
Note: If you have enabled a Recurring invoice profile or connected your account to Stripe or done both, you will be prompted to enter a default Exemption Reason and Tax Authority.
Alternatively, you can skip the process of manually determining and associating sales tax rates to your transactions, by using the Avalara integration. Click here to know more about this option.
Disabling Tax
To disable tax, navigate to Settings -> Taxes -> Disable Tax, available on the top-right corner.
Note: You can disable tax only if there are no transactions associated with tax.
Adding New Taxes
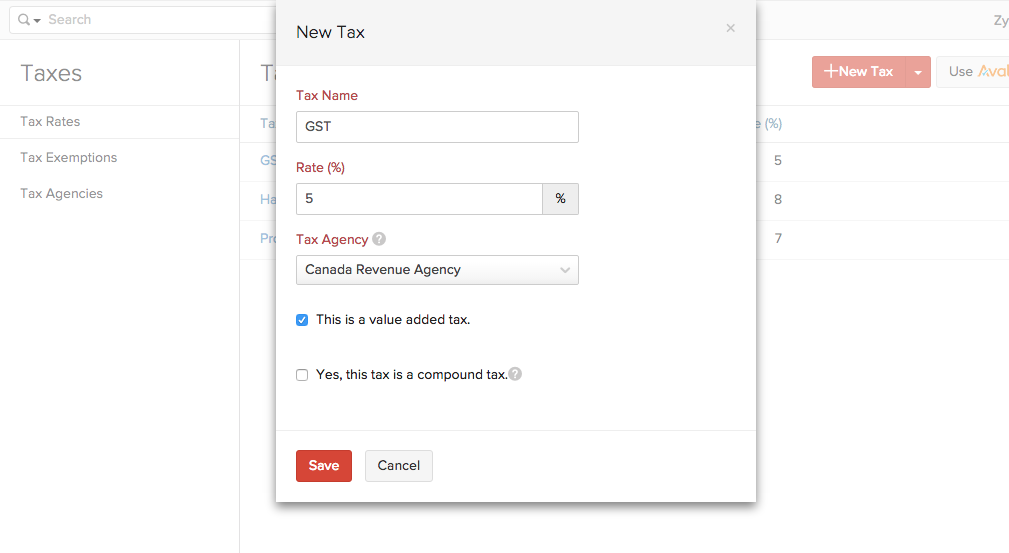
To create or add a new Tax, follow steps as below:
-
Click on the Settings icon found on the top right hand side corner of the screen and click on Taxes.
-
To add a new tax, click on + New Tax.
-
Provide a Tax Name.
-
Enter the relevant Rate in %.
-
Specify the name of the Tax Authority.
-
Click Save.
Note:
What is a Compound Tax?
In some countries you might have to collect more than one tax from your customers. It is for you to pay to your local province and another to the federal authority.
In certain cases, the provincial tax is applied on the total that includes the item or invoice amount as well as the federal tax amount. Such taxes are called as Compound Taxes.
What if I check the “This is a value added tax” box off?
It will be considered as a Non-Value Added Tax. In some provinces, tax on purchases cannot be reclaimed. In this case, the tax cannot be treated as a liability but an expense.
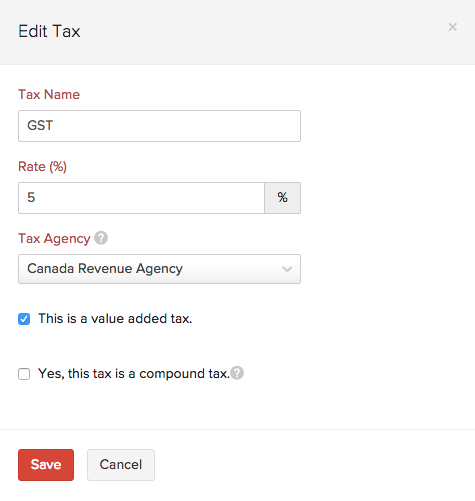
Editing Taxes
To edit an existing Tax follow steps as below:
-
Click on the Settings icon found on the top right hand side corner of the screen and click on Taxes from the drop-down.
-
Click on a tax you wish to edit.
-
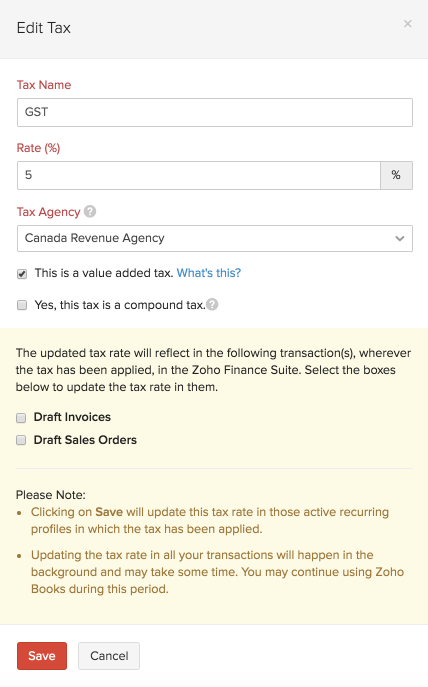
In the Edit Tax screen, edit the desired fields such as Tax Name, Rate, Tax Agency and select if it is a compound tax.
-
Click Save for the changes to take effect.
- If this tax has already been applied in some transactions, you will asked to confirm if you wish to update the new tax rate in those transactions as well.
Deleting Taxes
To delete an existing tax follow steps as below:
-
Click on the Settings icon found on the top right hand side corner of the screen and click on More Settings. Click on Taxes.
-
Scroll over the desired tax row and click on the trash bin icon which appears. Confirmation pop-up screen will double check your intention. Click to OK to Delete or Cancel to skip.

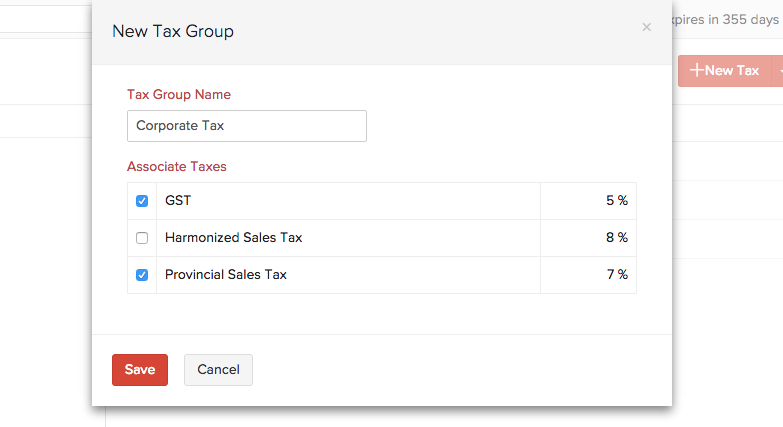
Adding a New Tax Group
To create a Tax Group, follow steps as below:
-
Click on the Settings icon found on the top right hand side corner of the screen and click on More Settings. Click on Taxes.
-
Click on the + New Tax drop-down and select New Tax Group.
-
Provide a Tax Group Name.
-
Select the taxes to be clubbed together by clicking on the check box, next to the desired taxes.
-
Click Save to add new tax group.
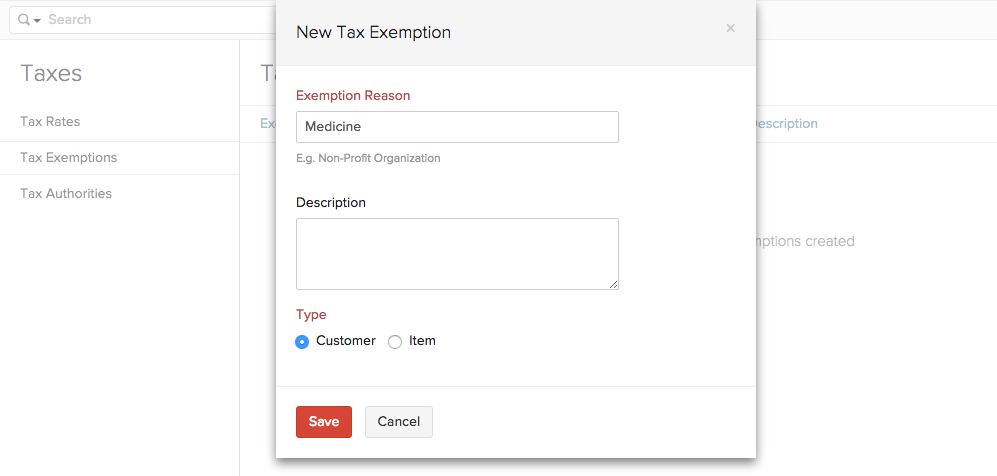
Adding a New Tax Exemption
There might be situations where you are exempt from paying taxes because of the item or the customer to whom you are selling the product. For example, the sale of medicines is exempt from sales tax in New Jersey.
To create a Tax Exemption, follow the steps below:
-
Click on the Settings icon found on the top right hand side corner of the screen and click on More Settings. Then click on Tax Exemptions under Taxes.
-
Click on the + New Tax Exemption button.
-
Provide a Exemption Reason and enter a short description if necessary.
-
Select the basis of the tax exemption by choosing either Customer or Item under Type.
-
Click Save to add the new tax exemption.
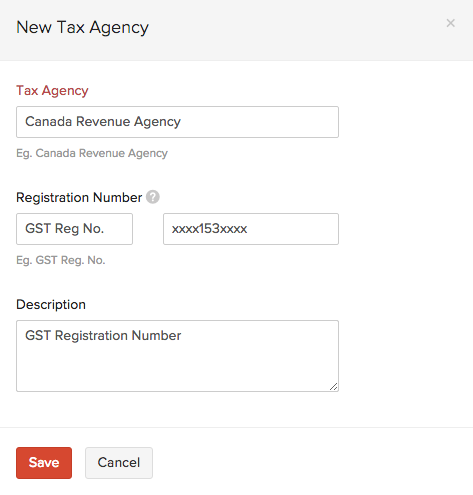
Adding a New Tax Agency
To create a Tax Agency, follow the steps below:
-
Click on the Settings icon found on the top right hand side corner of the screen and click on More Settings. Then click on Tax Agency under Taxes.
-
Click on the + New Tax Agency button.
-
Enter the name of the Tax Agency and provide a short description if necessary.
-
Also mention your organization’s Registration Number provided by the tax agency if required. This field, if mentioned, will be included in all your invoices by default.
-
Click Save to add the new tax agency.
Other Actions
You can mark any one of the taxes added as the default tax. Default Tax can be useful for the following scenarios.
- When customers are imported into Zoho Books, their tax preference is not set. When these customers are involved in transactions, the Default Tax will be applied in those transactions.
- The tax preference will also not be set for customers who were created before taxes were enabled. Here again, the Default Tax will be used in transactions where these customers are involved.
To mark a tax as the default tax, hover the cursor next to a particular tax and click on the mark as default button.
You can also delete a tax by clicking on the Trash icon.

 Yes
No
Yes
No

Thank you for your feedback!