Inventory
Payment Gateway Integration
Zoho Inventory is integrated with major online payment gateways to help you receive payments for your invoices online. This ensures faster and hassle-free receipt of payments and further automates your cash flow.
To integrate with payment gateways, you need the following requirements:
- An active account with the payment gateways that you wish to integrate with (unless the gateway allows you to create a new account during the integration process like Stripe for example).
- An active account in Zoho inventory.
IN THIS PAGE…
Benefits of integrating with a payment gateway
- On integrating with a payment gateway, when you send an invoice to your customer, the customer will also receive a payment link using which, they will be able to make instant payments.
- This integration automates your payment collection process by providing secure and fast payment gateways to collect the payments made by your customers.
- When a payment has been successfully made by your customer, the status of your invoice gets updated accordingly and a payment receipt is generated. If you had set up an automation for sending thank you notes on payment, then your customer also gets wind of your gratitude as soon as they make payments.
- This integration saves you the trouble of manual payment entries, possible human data entry errors, need of collecting payments through less secure means and long chains of follow ups within your organization.
Insight: Zoho Inventory does not store any of the payer’s card information. When your payer clicks the online payment link and submits the form, we encrypt the data and send it to the respective payment gateway securely. After the payment is processed, Zoho Inventory receives a confirmation message along with the card reference number, expiry date and month. These details are updated in the payments received section of the invoice in Zoho Inventory.
Razorpay
Razorpay is an Indian Payment Gateway that accepts and validates online payments via Credit Card, Debit Card and Net banking.
To setup Razorpay gateway:
- Log into Zoho Inventory.
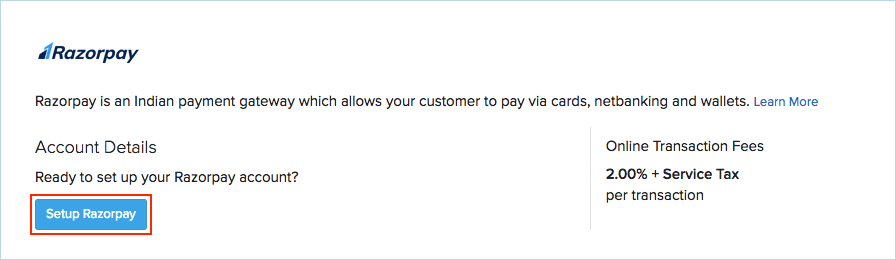
- Go to Settings > Online Payments.
- In the Razorpay section, Cclick the Set up Razorpay button.
You will be redirected to the Razorpay website.
- Sign in using your Razorpay credentials.
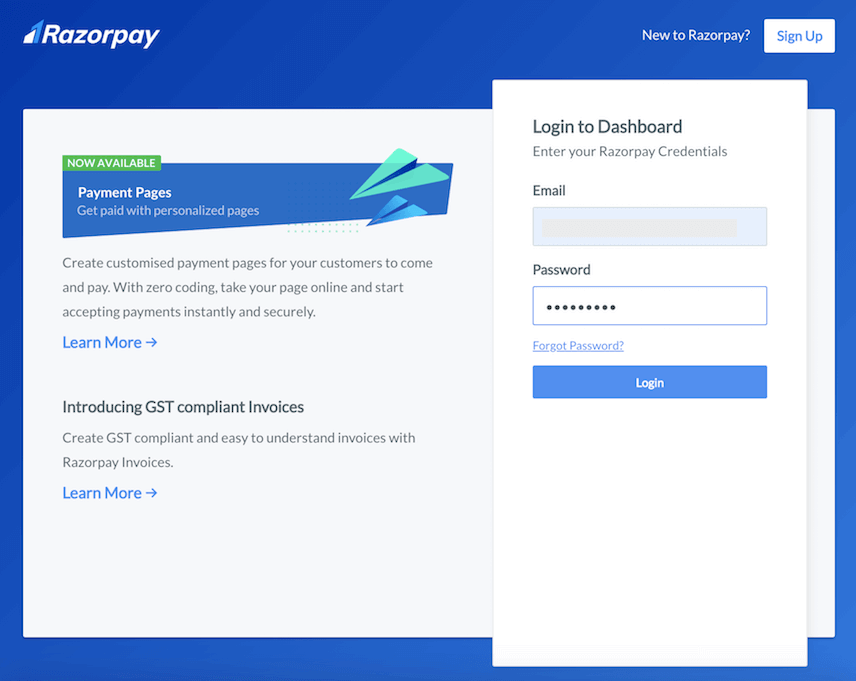
Note: If you don’t have an existing Razorpay account, click the Sign Up button in the top right corner to create a new account.
- Click the Authorize button to allow Zoho Inventory to access your Razorpay account.
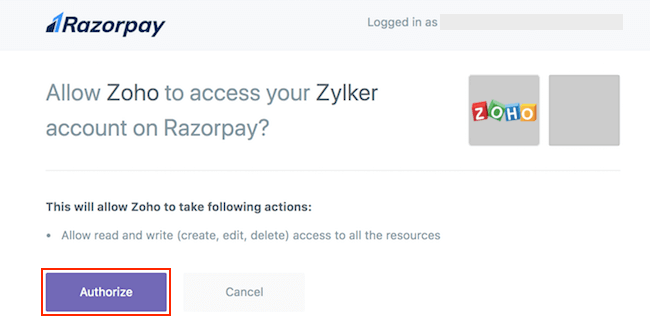
You will be redirected back to your Zoho Inventory account where the Active status next to Razorpay will denote the successful integration.
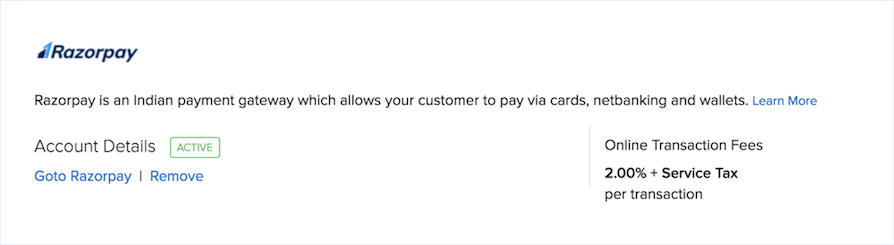
Disable Razorpay
To disable the Razorpay integration:
- Log into Zoho Inventory.
- Go to Settings > Online Payments.
- Click the Remove option under Razorpay integration.
- Confirm your action.
Note: If you disable the Razorpay integration and want to enable it again, you would have to re-enter your Razorpay credentials.
Authorize.Net
To configure Authorize.Net:
- Log into Zoho Inventory.
- Go to Settings > Online Payments.
- Click on the Setup Now button below the Authorize.Net logo.
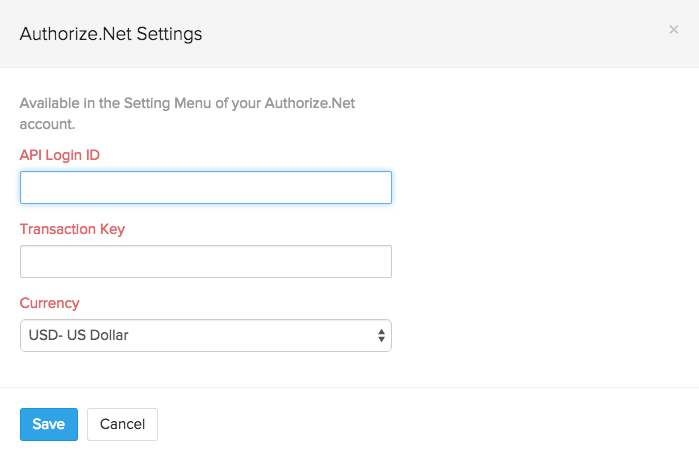
- Enter the following information and click Save.
- API LoginID: Enter the API Login ID given to you by Authorize.Net.
- Transaction Key: Enter the Transaction Key given to you by Authorize.Net.
- Currency: Enter the currency of receipt. Currently Authorise.net supports transactions only in US Dollars (USD), Canadian Dollars (CAD), Euro (EUR), Pound Sterling (GBP).
- Bank Account: Enter the Bank Account where money received should reflect.
- More information on API Login ID and Transaction Key can be found by clicking here.
Note: When you setup this integration, your API Login ID and Transaction Key will be shared with Authorize.Net.
Payflow Pro
To set up Payflow Pro:
- Log into Zoho Inventory.
- Go to Settings > Online Payments.
- Click on the Setup Now button below the Payflow Pro logo.
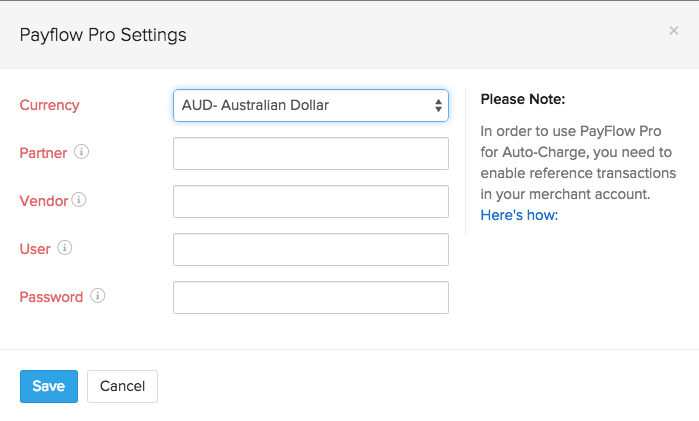
- Enter the following information and click Save.
- Currency: The currency you set up in your Payflow Pro account.
- Payflow currently supports transaction in 10 leading currencies.
- Partner: The partner ID as mentioned in your Payflow Pro account.
- Vendor: Your vendor name as mentioned in your Payflow Pro account.
- User: Enter your Payflow Pro username.
- Password: Enter your Payflow Pro password.
- Bank Account: Enter the Bank Account where money received should reflect.
- Currency: The currency you set up in your Payflow Pro account.
Important Note:
- When you register for Payflow Pro, you will receive an email with information like your Partner ID and Vendor name. >* Please keep that email at hand while filling the details for Payflow Pro.
- When you setup this integration, the fields mentioned above will be shared with Payflow Pro.
Payments Pro
To set up Payments Pro:
- Log into Zoho Inventory.
- Go to Settings > Online Payments.
- Click on the Setup Now button below the Payments Pro logo.
- Enter the following information and click Save.

- API Username, API Password and Signature.
- Login to your PayPal account.
- Go to Profile and click Request API Credentials under Account Information.
- Choose Set up PayPal API Credentials and Permissions under Option 1.
- Click View API Signature under Option 2.
- Copy the API Username, API password and Signature into corresponding fields in Zoho Inventory.
Note: When you setup the integration, your API credentials and Signature will be shared with Payments Pro.
Braintree
To configure BrainTree:
- Log into Zoho Inventory.
- Go to Settings > Online Payments.
- Click on the Setup Now button below the Braintree logo.
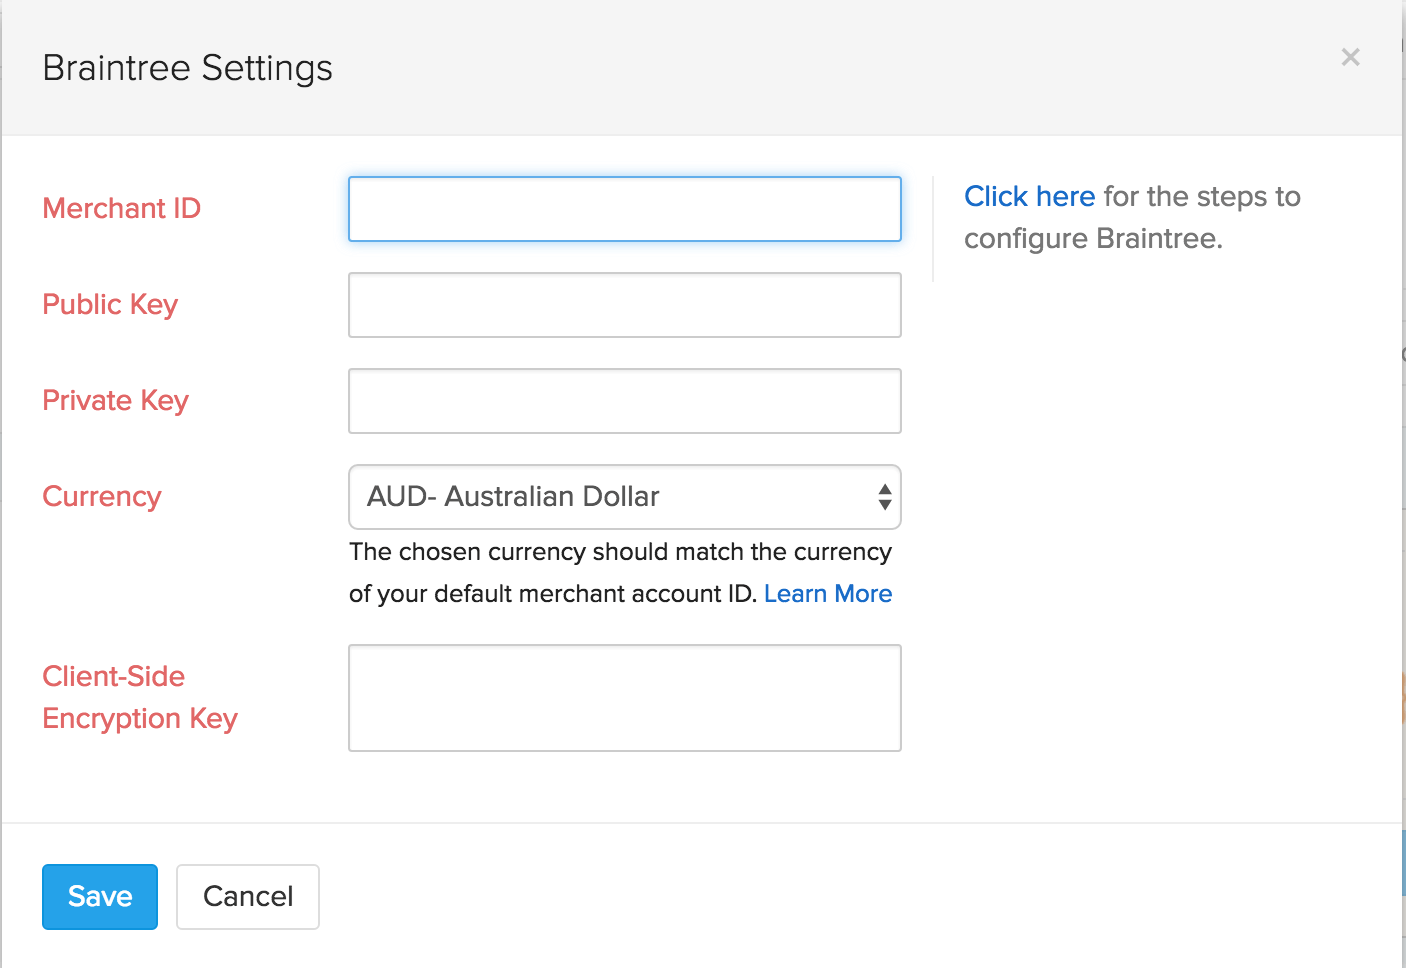
- Enter the following information and click Save.
- Merchant ID: Provide you Merchant ID here.
- Login to your BrainTree gateway account and find this detail in the API Keys section.
- You will also find the required following Key credentials
- Public Key: Enter the Public Key here.
- Private Key: Enter the Private Key here.
- Currency: Select the currency in use in your BrainTree account.
- BrainTree currently supports transaction in 8 leading currencies. Learn more about choosing your currency for Braintree.
- Client Side Encryption Key: You will need to paste your Client side Encryption Key here.
- To find this, log into your BrainTree account and click on API Key section provided on the right pane.
- Bank Account: Enter the Bank Account where money received should reflect.(This field is not a mandatory field and it is coming soon)
- Merchant ID: Provide you Merchant ID here.
Note: When you setup the integration, the fields mentioned above will be shared with Braintree.
Worldpay
To setup Worldpay payment gateway:
- Log into Zoho Inventory.
- Go to Settings > Online Payments.
- Click on the Setup Now button below the Worldpay logo.
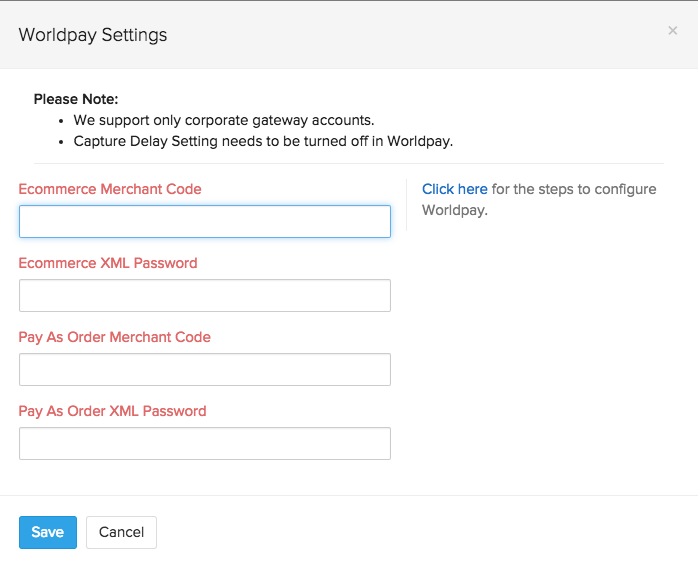
- Enter the following information and click Save.
- Ecommerce Merchant Code and Ecommerce XML Password should be the same as in the Worldpay Virtual Terminal.
- Login to the Worldpay Virtual Terminal.
- Click on ‘Select Merchant Code’ and choose your Ecommerce merchant code.
- Click Profile on the left navigation paneand copy the Merchant Code and XML Password to this form.
- Pay As Order Merchant Code and Pay As Order Merchant Password should also be the same as in the virtual terminal.
- Login to the Worldpay Virtual Terminal.
- Click on ‘Select Merchant Code’ and choose your Pay As Order merchant code.
- Click Profile on the left navigation pane and copy the Merchant Code and XML Password and paste it to this form.
Important Note:
- Capture Delay Settings in your Worldpay Merchant Interface (in both Ecommerce merchant profile and Pay As Order merchant profile) needs to be turned off.
- When you setup this integration, the fields mentioned above will be shared with Worldpay.
Set up payment options from invoice
When you integrate a payment gateway with your Zoho inventory organization, it will be available as a payment option for your invoices.
To add a payment gateway in an invoice:
-
Go to Invoices.
-
Create a new invoice or edit an unsent invoice.
-
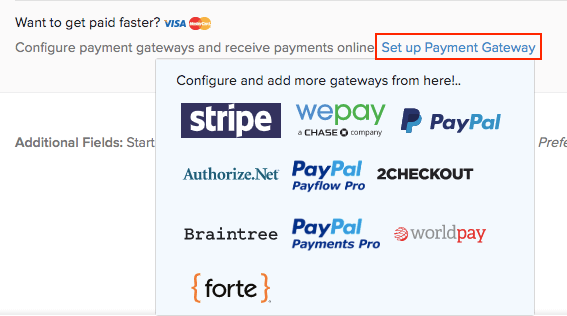
Click Set up Payment Gateway and configure a payment gateway.
-
Save and email the document, or share the invoice link with your customer.
Your customers can now choose to pay you online through the added payment gateways.