
Setting Up Your Organization
In this section, you can enter basic information of your organization such as address, contact information, etc. This information is automatically fetched when you create quotes and invoices.
Organization Profile
To set up your organization profile:
- Log in to your Zoho Books account.
- Go to Settings.
- Select Profile under Organization.
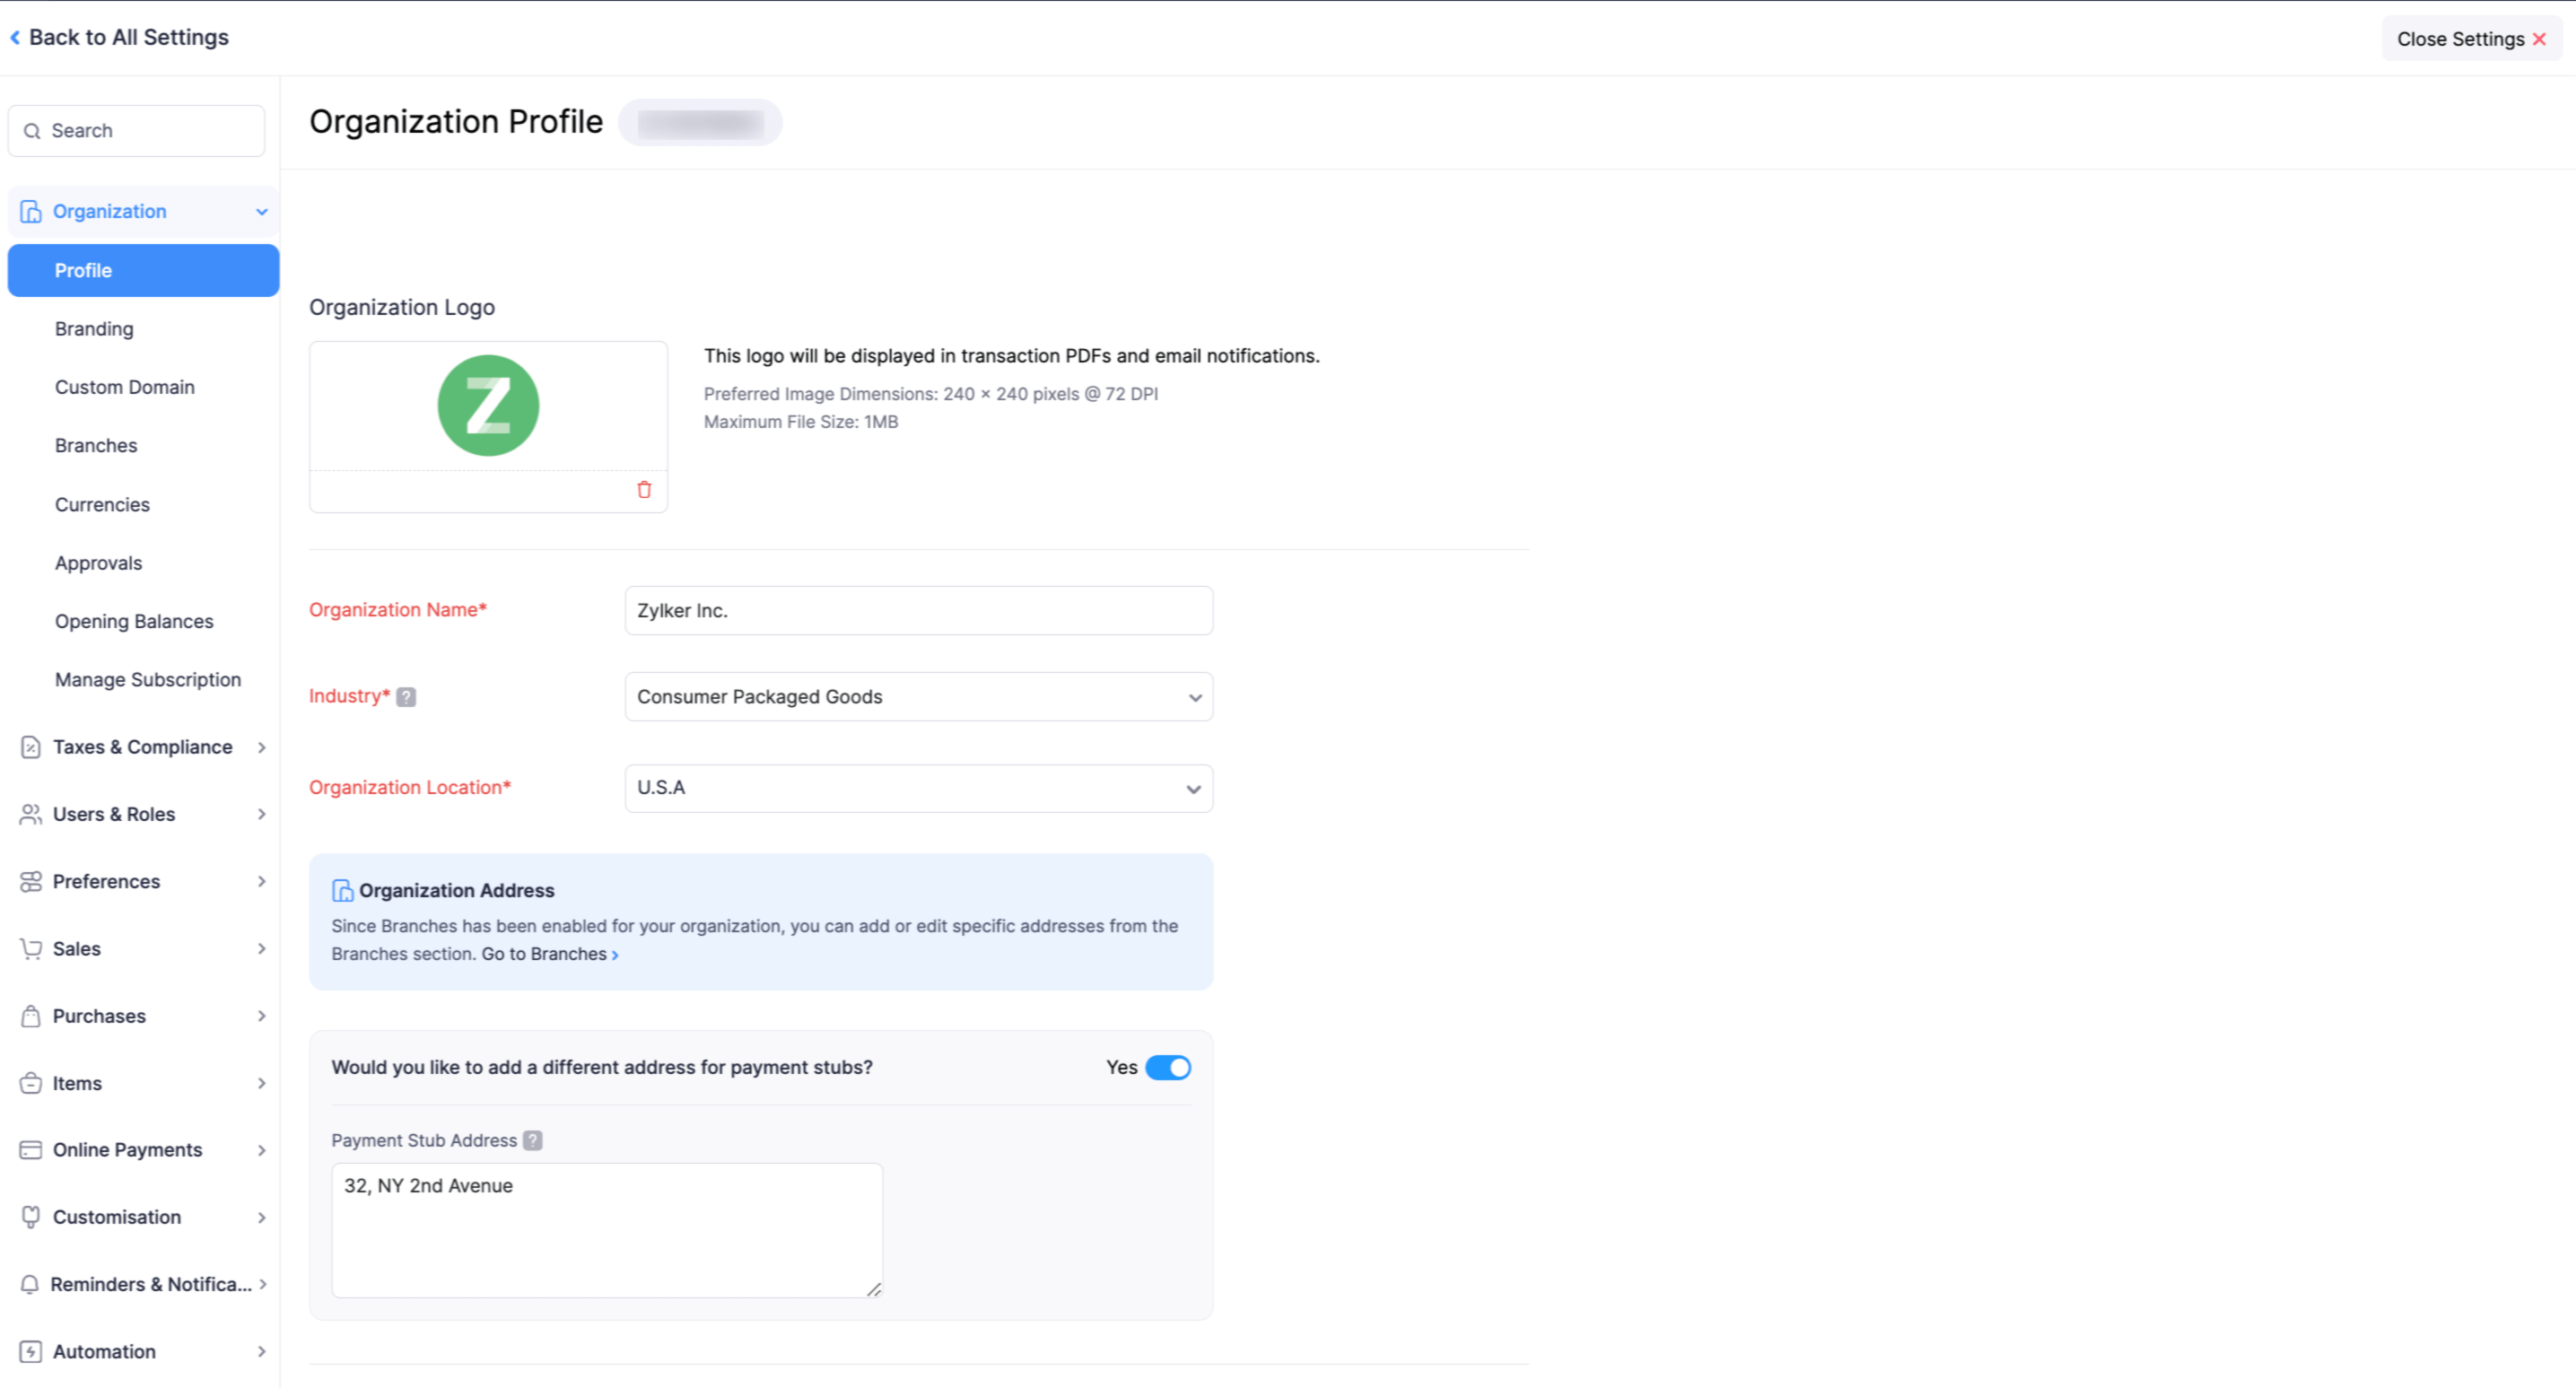
In the Organization Profile page, you will come across the following fields:
| Field | Description |
|---|---|
| Organization Logo | The logo you upload here will be reflected in all your documents such as quotes, invoices, bills etc. You can simply click on Upload Your Organization Logo button, select the image file and upload it. Prefered Size: 240px*240px with 72 DPI. Maximum File Size: 1 MB. |
| Organization Name | You can edit your organization name entered during quick setup, in this field. |
| Industry | Select the industry type your business falls under. |
| Business Type | Choose your Business type. For example: Sole Proprietorship, Partnership, Corporation, etc. |
| Organization Location | Choose the country in which your business operates. |
| Organization Address | Provide a detailed postal address along with other contact details such as phone number, website etc. You can add an additional remittance address. |
| Website URL | You can add your company’s website URL in this field. |
| Primary Contact | Change or edit the primary contact’s name and email address entered during quick set-up. If you wish to have multiple email addresses for an organization, click the Gear and select + New Sender. Enter the Name and Email Address of the user you wish to add and click Save. Hover the cursor next to an email address and click on Mark as primary to mark it as a primary email. Henceforth, every email communication (quotes, invoices etc) sent to contacts (clients or vendors) will go from this email ID by default. |
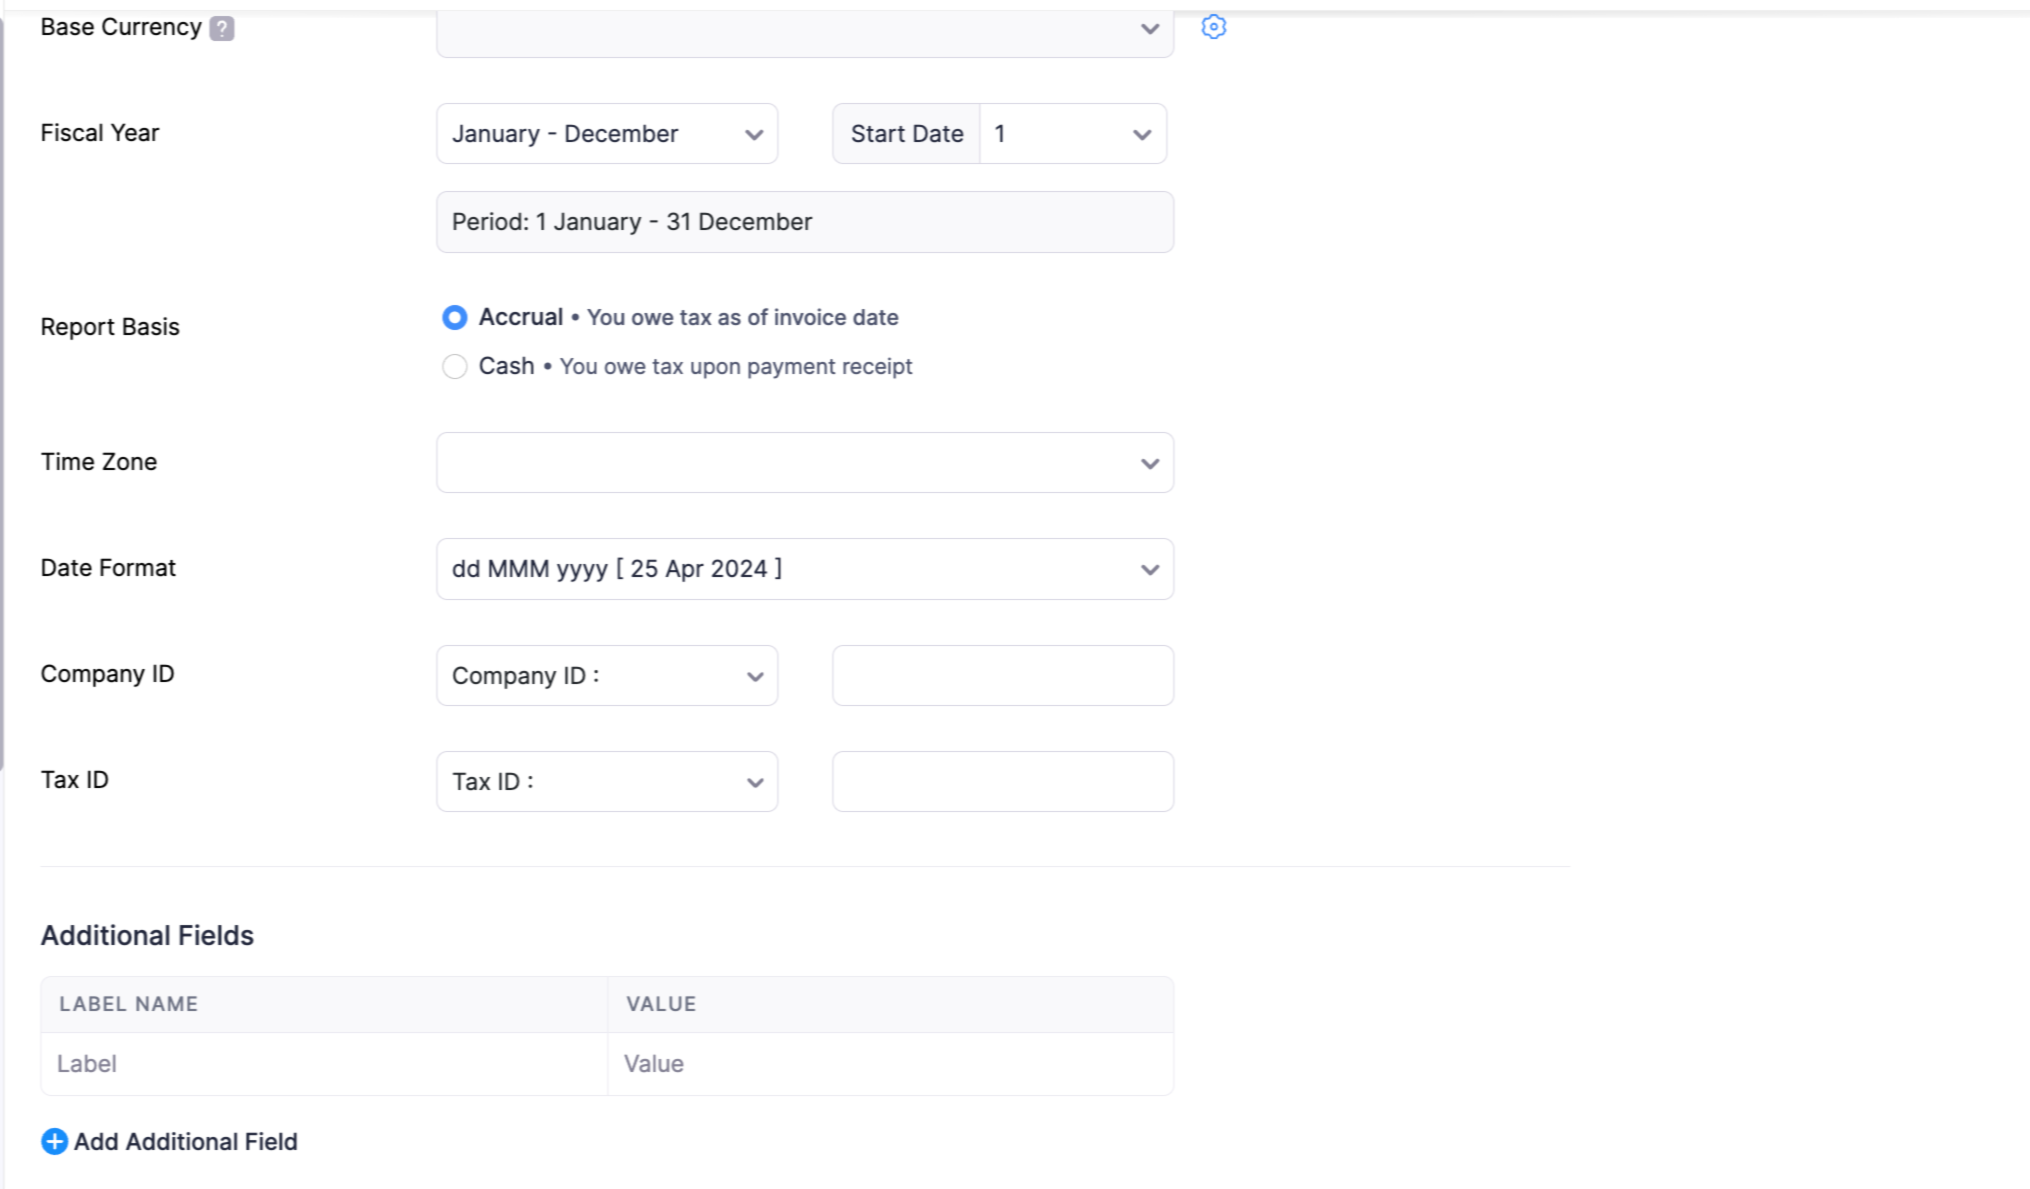
| Base Currency | The currency you select when you sign up is displayed here. As mentioned in quick set-up, it cannot be changed if transactions are recorded. |
| Fiscal Year | Different companies follow different fiscal year, select the one that best suits your organization’s accounting and regulatory needs. |
| Tax Basis | Selecting a correct tax basis is also key in defining your post-tax financial statements. In case you are unsure of which kind of tax basis (Accrual or Cash) to follow, we recommend getting advice from a tax expert or an accountant. |
| Time Zone | Zoho Books populates the time zone based on the location you choose during sign up. You can edit if required. |
| Date Format | Select your preferred date format mostly prevalent in your country or specific to your organization. |
| Company ID | If you want to display your Company ID on invoices, you can add it here. To include it in your invoice, you will have to configure the placeholder for this field by going to Settings > Preferences > General > Organization Address Format. This field is a jurisdictional requirement and varies by country. |
| Tax ID | If you want to display your Tax ID on invoices, you can add it here. To include it in your invoice, configure the placeholder for this field by going to Settings > Preferences > General > Organization Address Format and adding your placeholder. This is specific to your company’s regulatory requirements. Note: Based on a recent update in the Global edition, this field will be shown only if it was already filled in. For new users and those who didn’t fill it, this field is now available under Tax Settings as Tax Registration Number. You can access it by going to Settings > Taxes and Compliance > Taxes > Tax Settings > Tax Registration Number. |
| Additional Fields | In case you wish to record something extra for your organization, you can add additional fields. |
| Would you like to a different address for payment stubs?: | Enable this option to add an additional address which can be used in the payment stub of an invoice. |
Adding a New Organization
Zoho Books gives you the option of adding multiple organizations to your account. This way you can manage your various business accounts under a single Zoho Books login and get a comparative view of the financial health of your group of companies.
To add an organization:
- Click the Organization Name on the top right corner of the page, and select Manage.

- In the page that follows, click + New Organization.
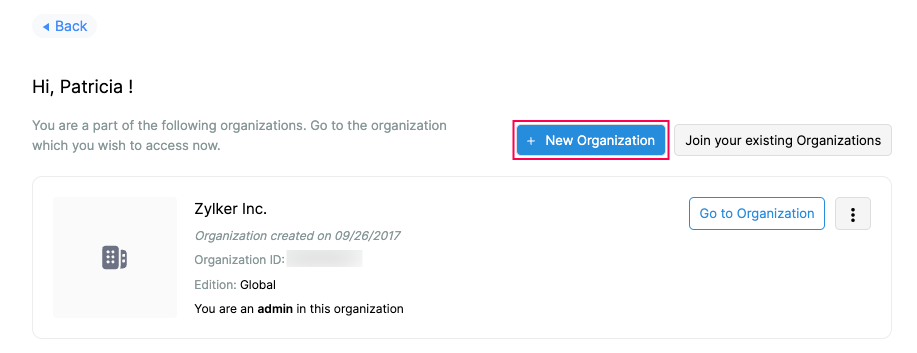
- Choose to either add a new organization or clone an existing one.
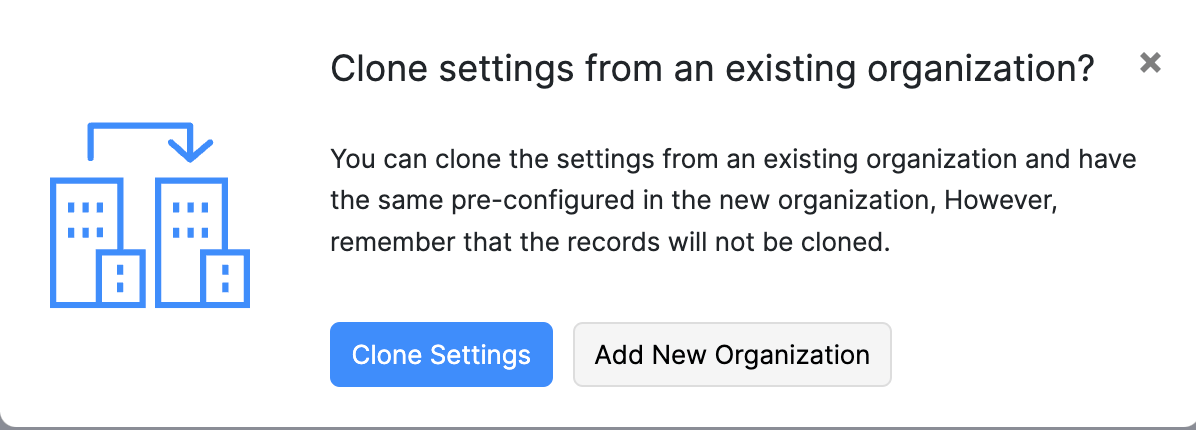
- Enter the required details and click Get Started.

Now, you will automatically be redirected to the quick setup page of your newly created organization.
 Yes
No
Yes
No
Thank you for your feedback!