Install Unattended agent using Installer Link
Just copy the installer link right from our website or send the link through email to your customers. No longer do you need to download the unattended access installer and send it to your customers every time to add a computer to your unattended access list. Your customers just have to execute the downloaded file to complete the unattended access configuration.
Steps
- Go to assist.zoho.com and log in to your account.
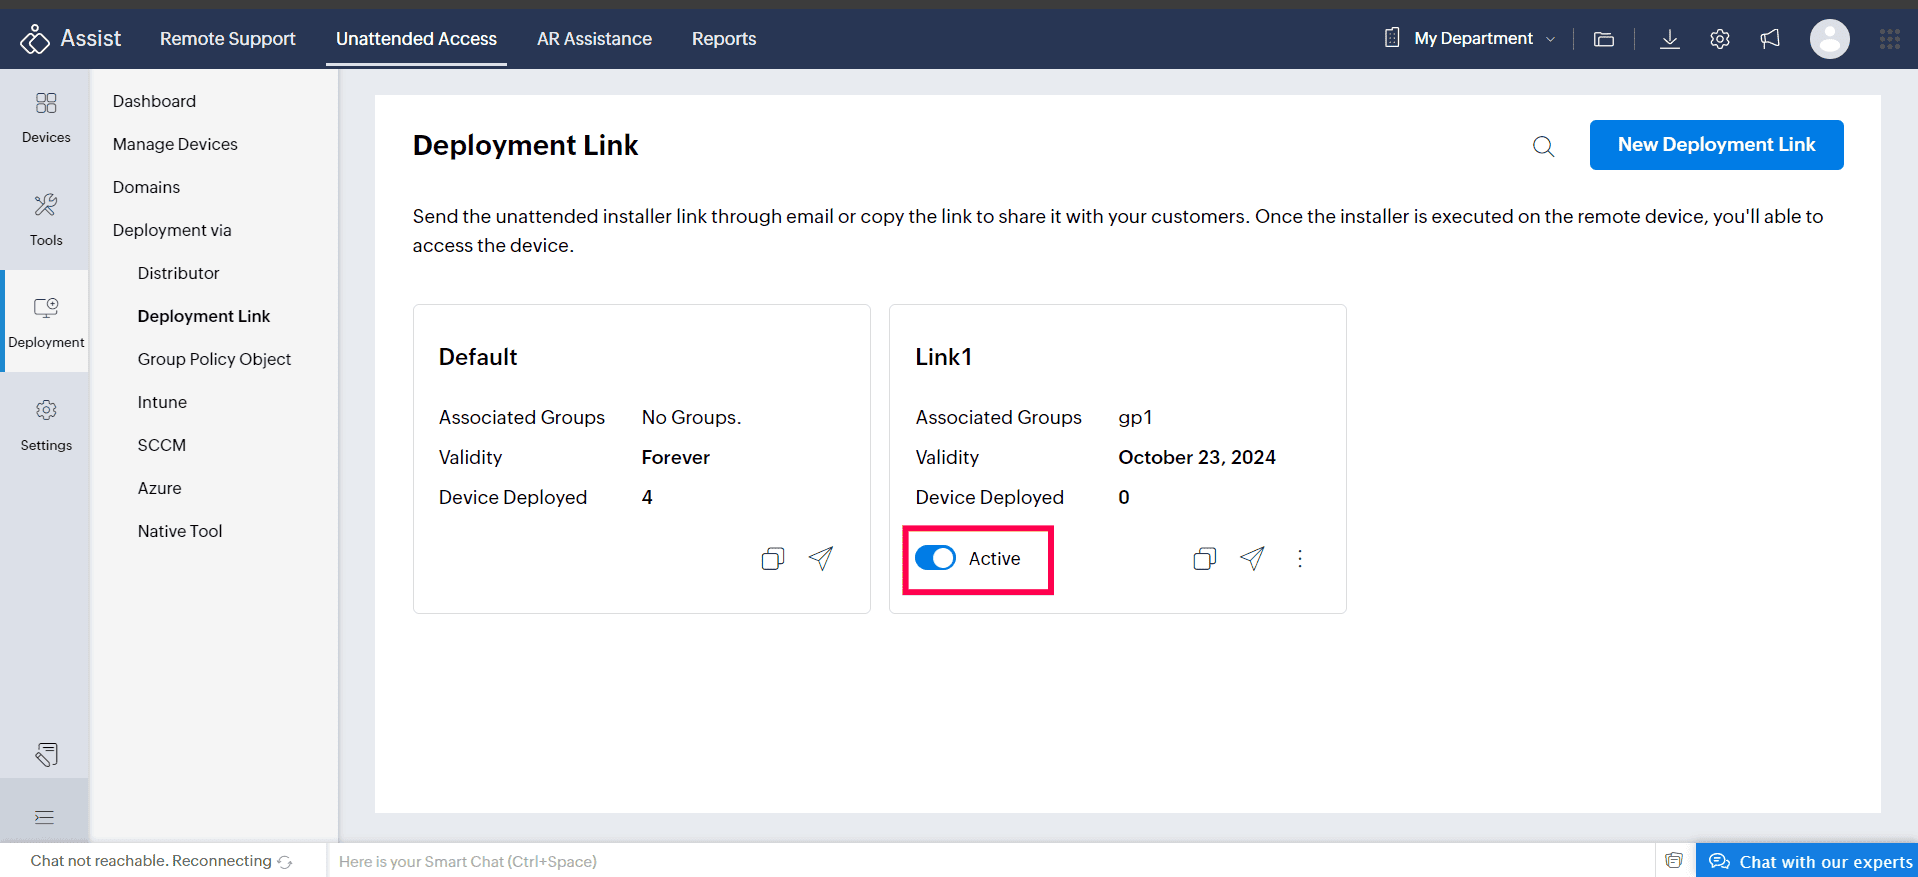
- Navigate to Unattended Access > Deployment > Deployment Link
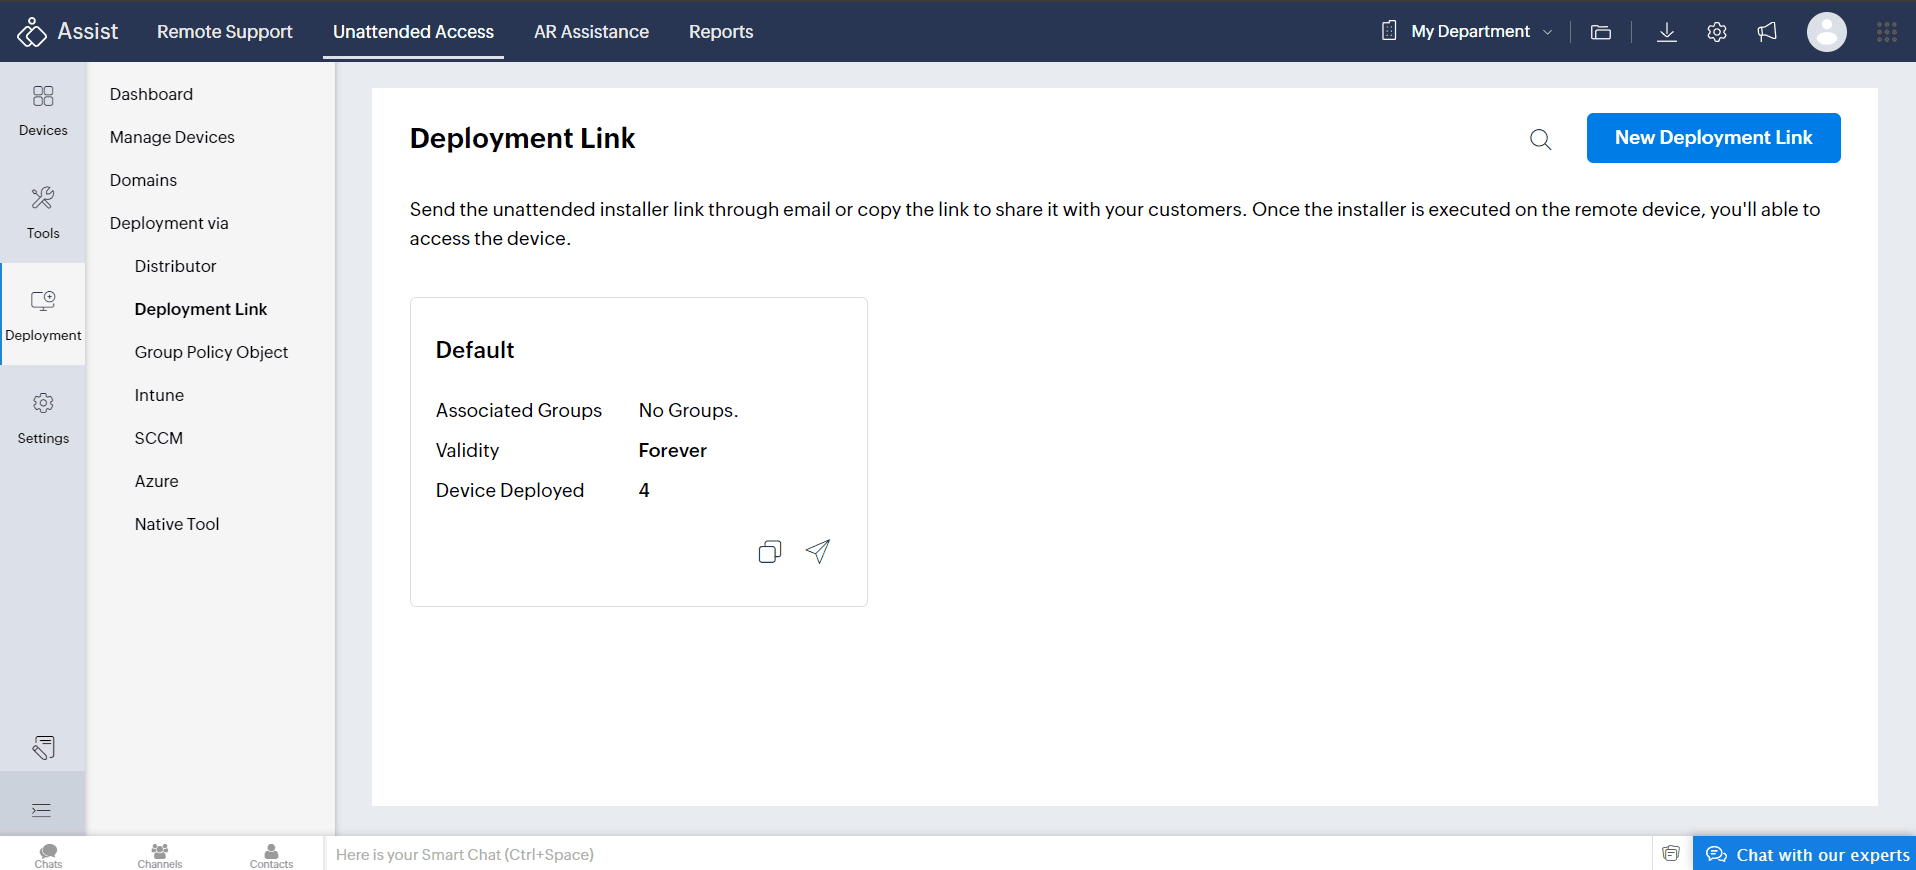
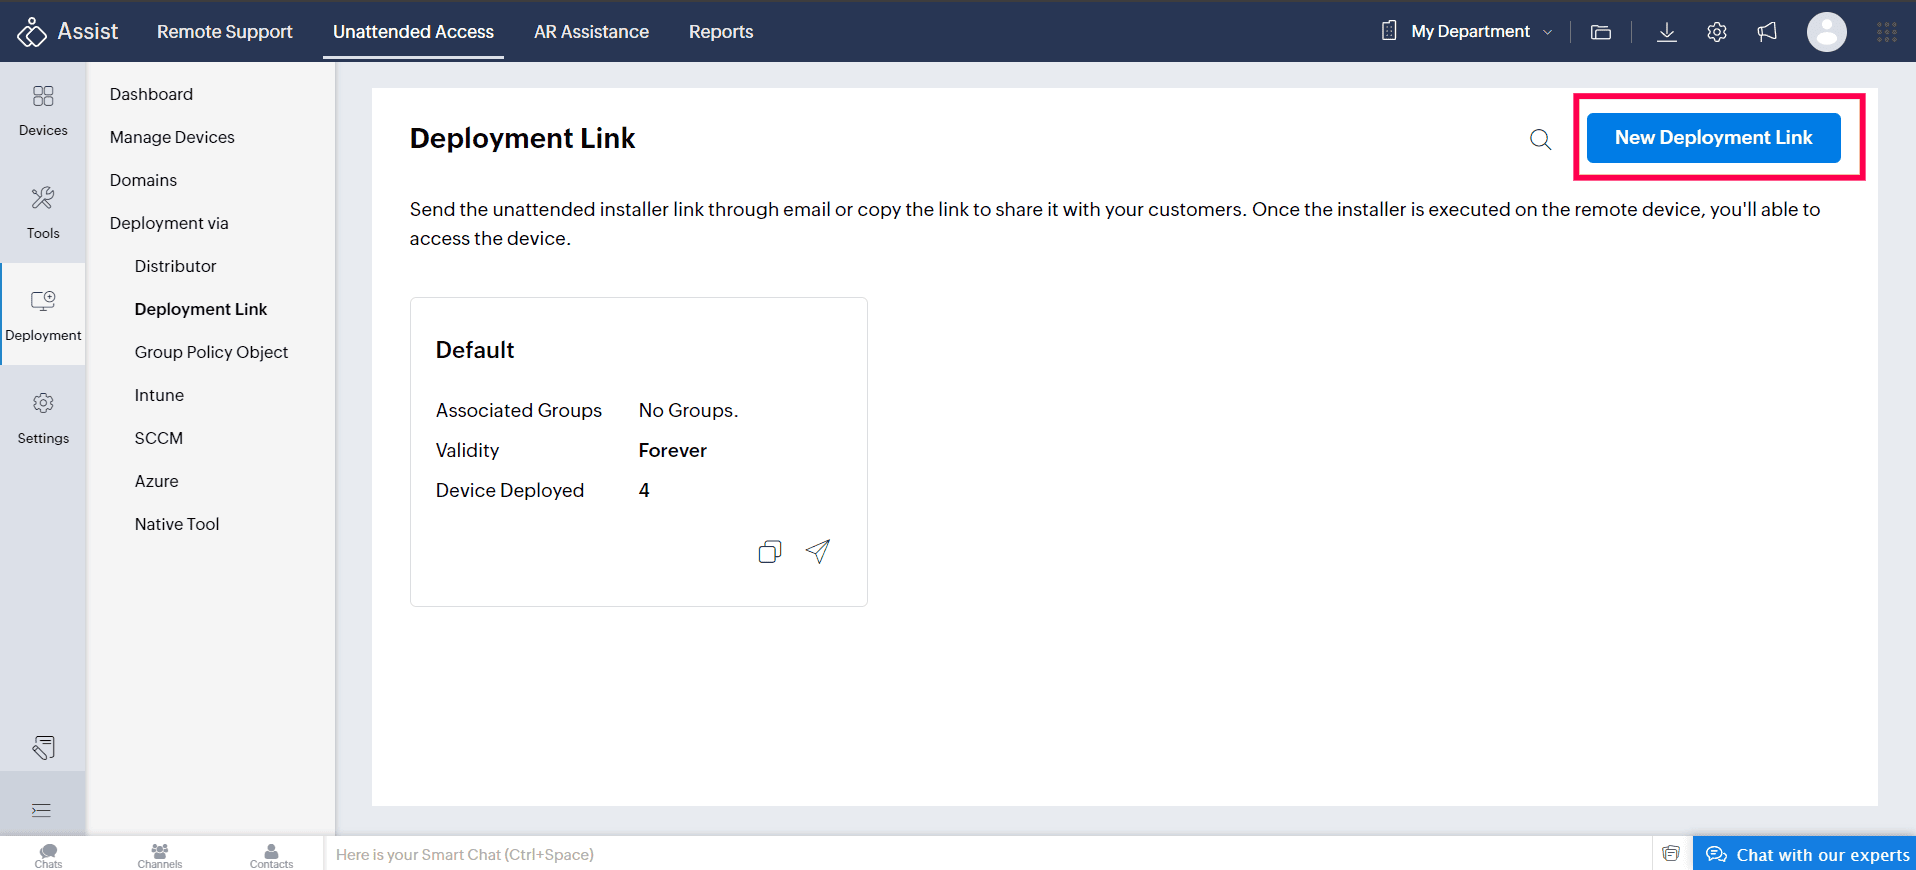
- Click on New Deployment Link to start configuring a new deployment link
Configure the deployment link details:
Link Name: Provide a name for easy identification of the link.
Assign Group : Assign the deployment link to a specific group for organizational management.Once the device is set up, it will automatically be added to the assigned group.
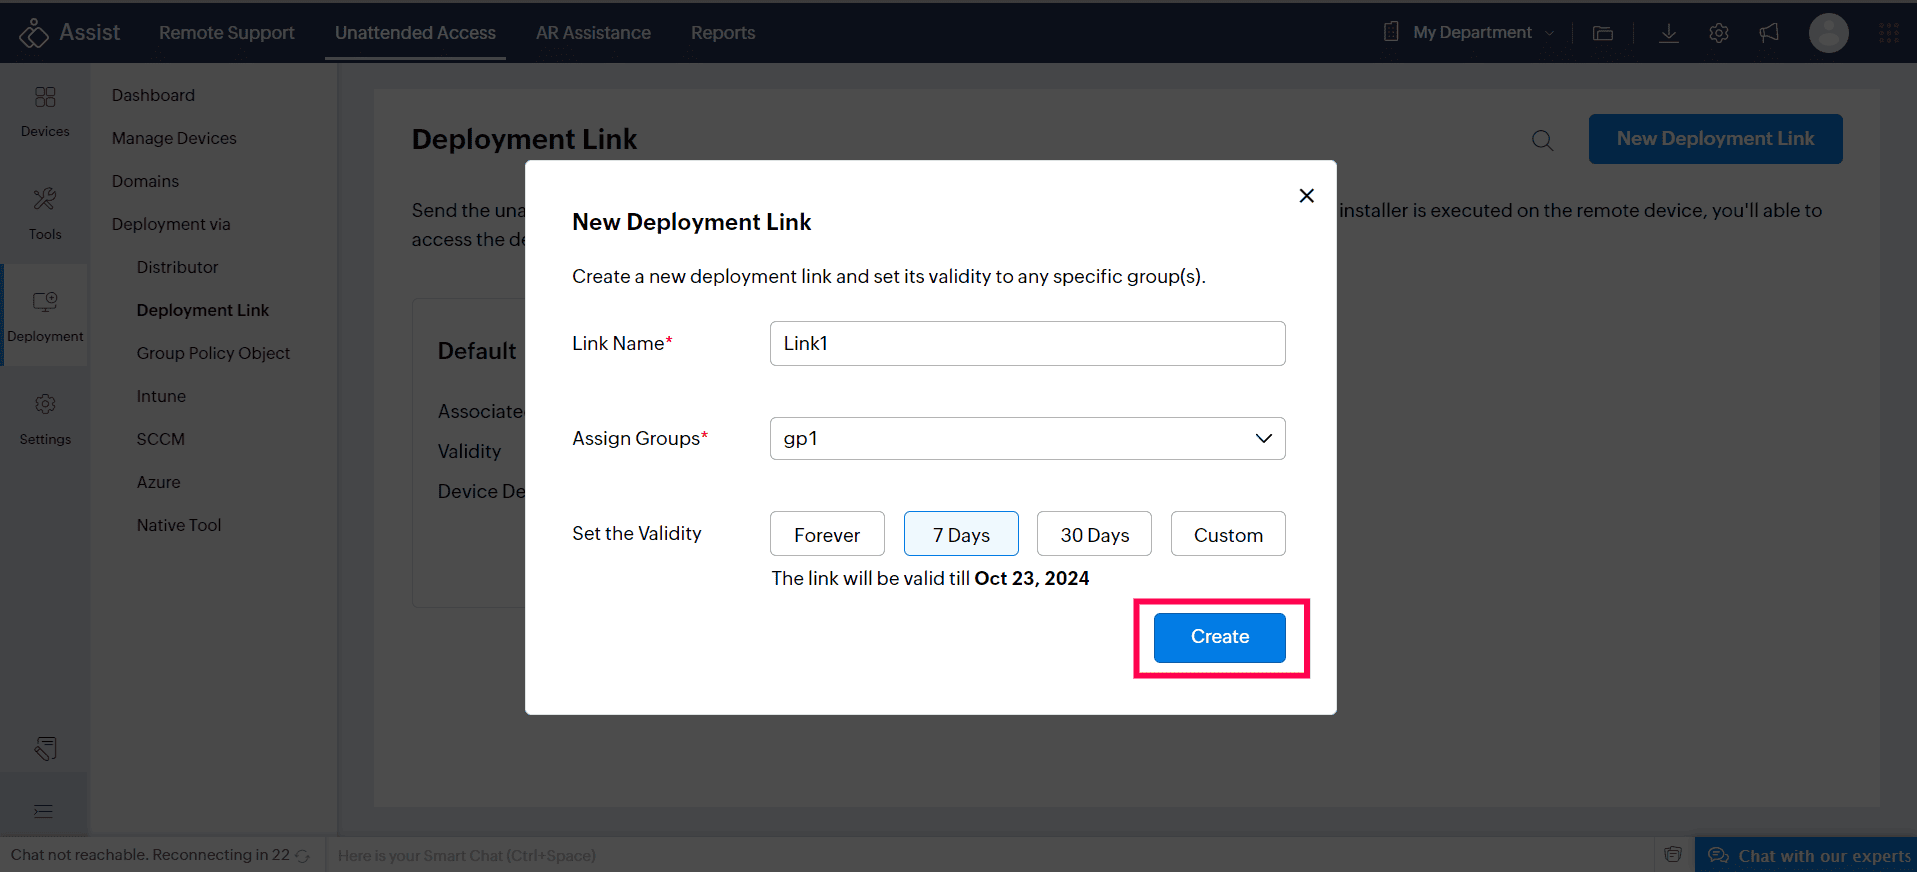
Link Validity: Set the validity period of the link, defining how long the link will remain active for use.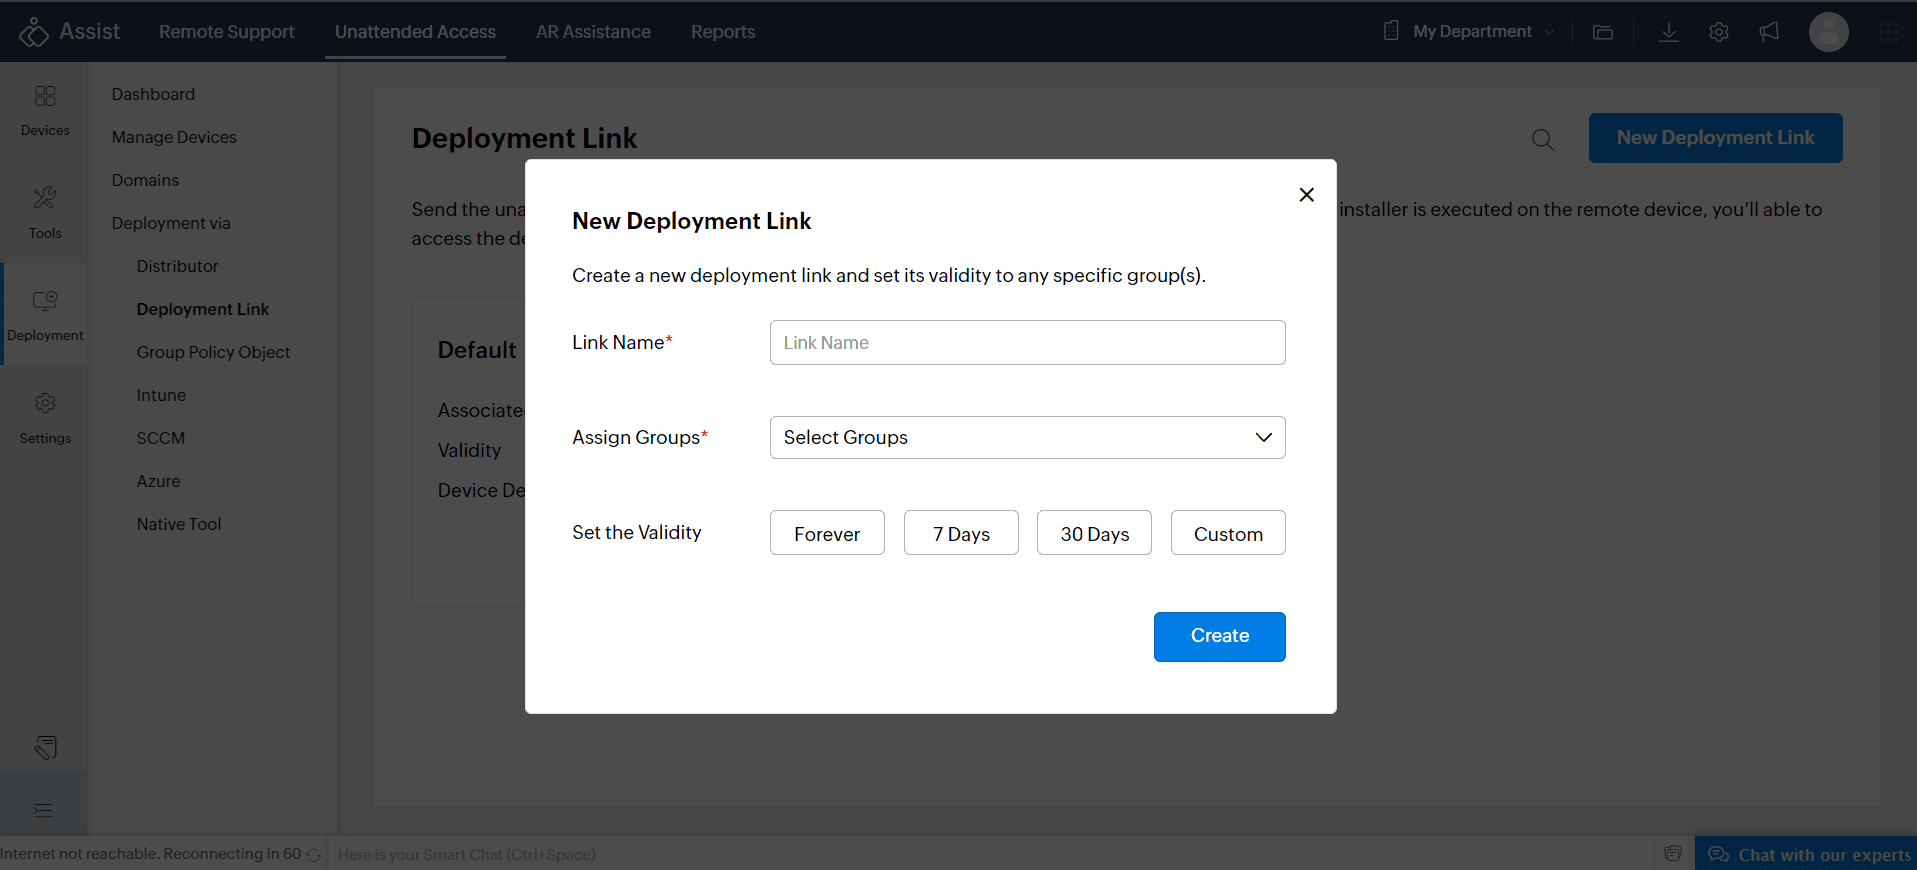
- After entering the details, click Create to generate the deployment link.
- Sharing the deployment link:
- Click COPY to copy the link to the clipboard. You can send the copied link through Chat/IM or Email. (OR)
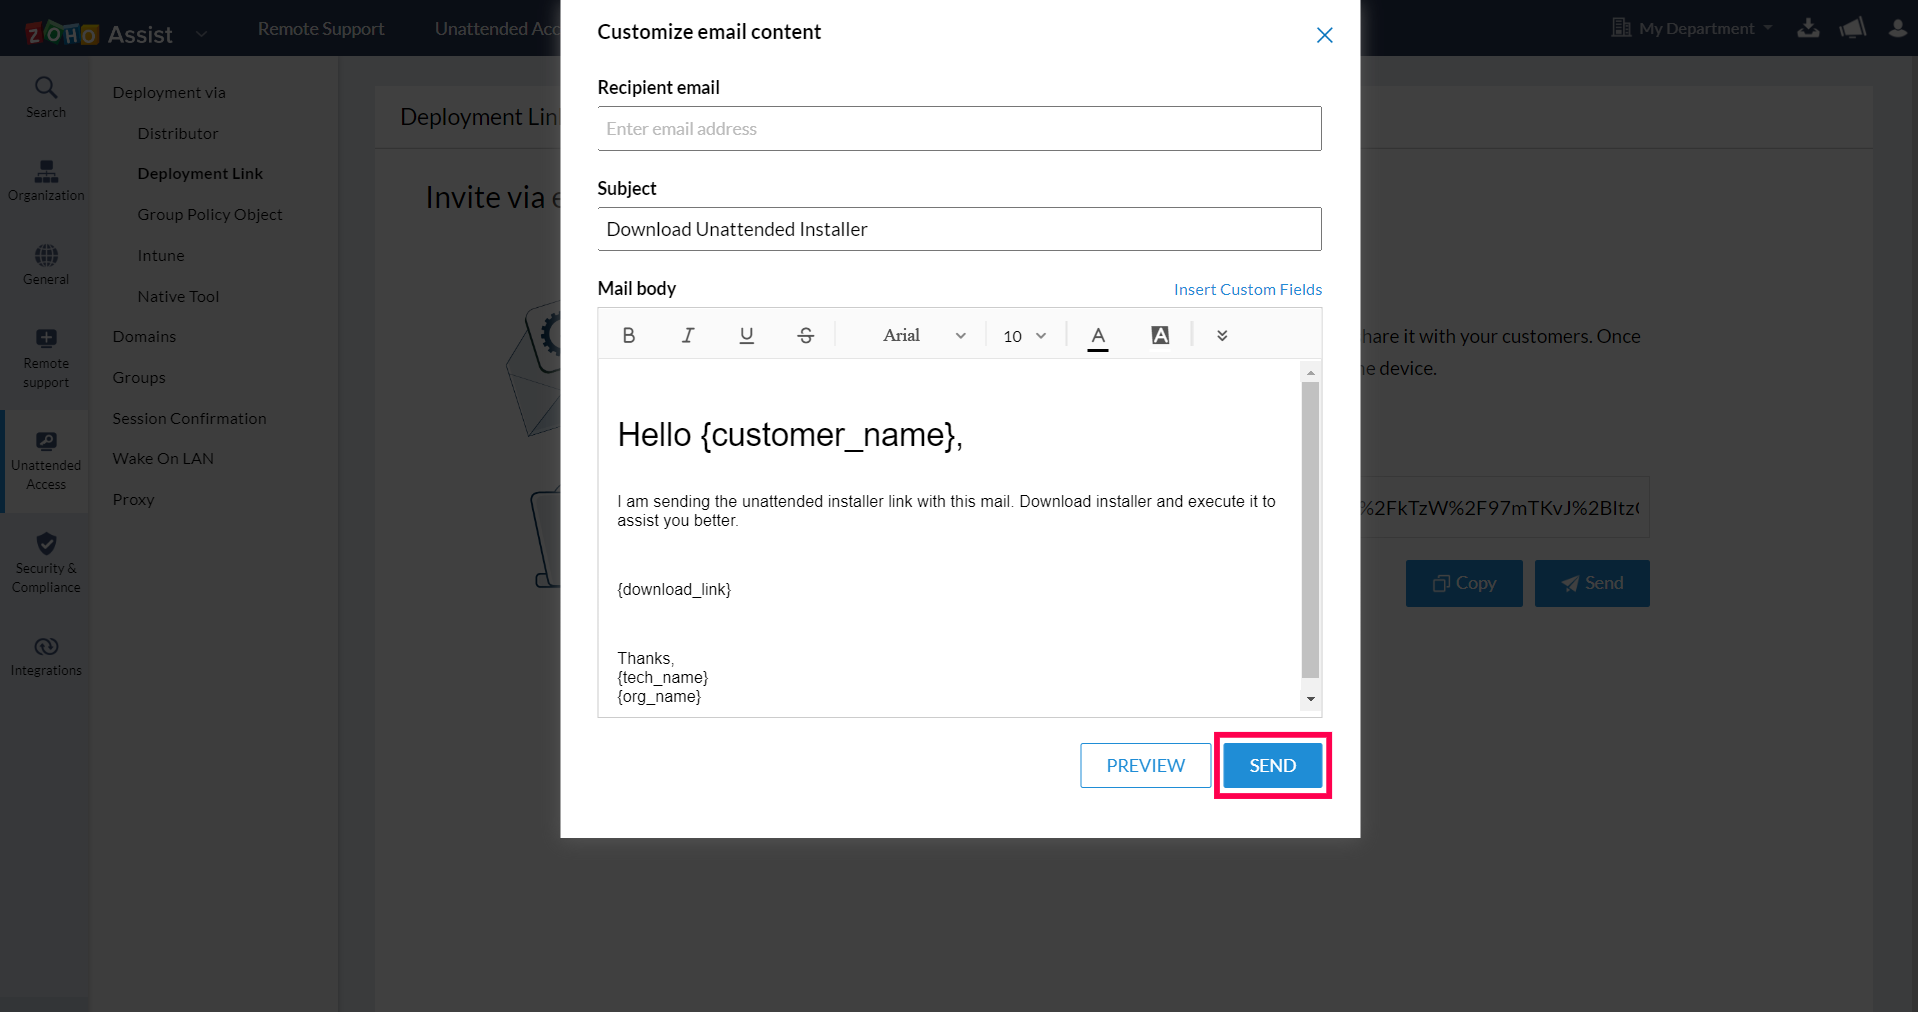
- Click SEND to send the installer link through email. You can customize the email if needed.
- Ask your customer to download the installer. After receiving the link, instruct your customer to:
Click on the shared link.
Once the page opens, click Download.
Double-click the downloaded file and run the application.
Once executed, the configured computer will be added to your unattended computers' list.
- Preview the email created and click Save for future use of the customized email template.
- Go to Unattended Access and click CONNECT next to the newly added computer to start a remote access session.


Managing deployment links:
After creating the deployment link, you can manage it from the same interface:
Enable/Disable link: Toggle the availability of the link.
Edit details: Modify link properties, such as link name, group assignment, or validity.
Delete link: Permanently remove the deployment link when no longer needed.
